
Artificial grass has become a popular option for homeowners and businesses alike due to its low maintenance requirements and durability. However, before deciding to install artificial grass, it is important to understand the overall cost of the project. The cost of installing artificial grass is typically determined by the square footage of the project, as well as other factors such as the materials used, site-specific considerations, and whether you choose to do the installation yourself or hire a professional.
Cost of installing artificial grass
The cost of installing artificial grass varies depending on the size of the project. To provide an estimate, we have created a table below that outlines the estimated cost of a project for different square footage ranges.
| Square Footage | Estimated Cost | Price per Square Foot |
| 500 | $3,000 – $5,500 | $6.00 – $11.00 |
| 1,000 | $6,000 – $9,000 | $6.00 – $9.00 |
| 1,500 | $9,000 – $12,000 | $6.00 – $8.00 |
| 2,000 | $12,000 – $15,000 | $6.00 – $7.50 |
| 2,500 | $15,000 – $18,000 | $6.00 – $7.20 |
Keep in mind that the cost can vary based on other factors, such as site-specific considerations and materials used.
Where you can install artificial turf:
- Playgrounds
- Lawns and landscaping
- Indoor and outdoor sports
- Gym flooring
- Around pool decks
- For dogs and other pets
- Putting greens
Materials used to install artificial grass
The materials and tools required for artificial grass installation include:
Artificial grass
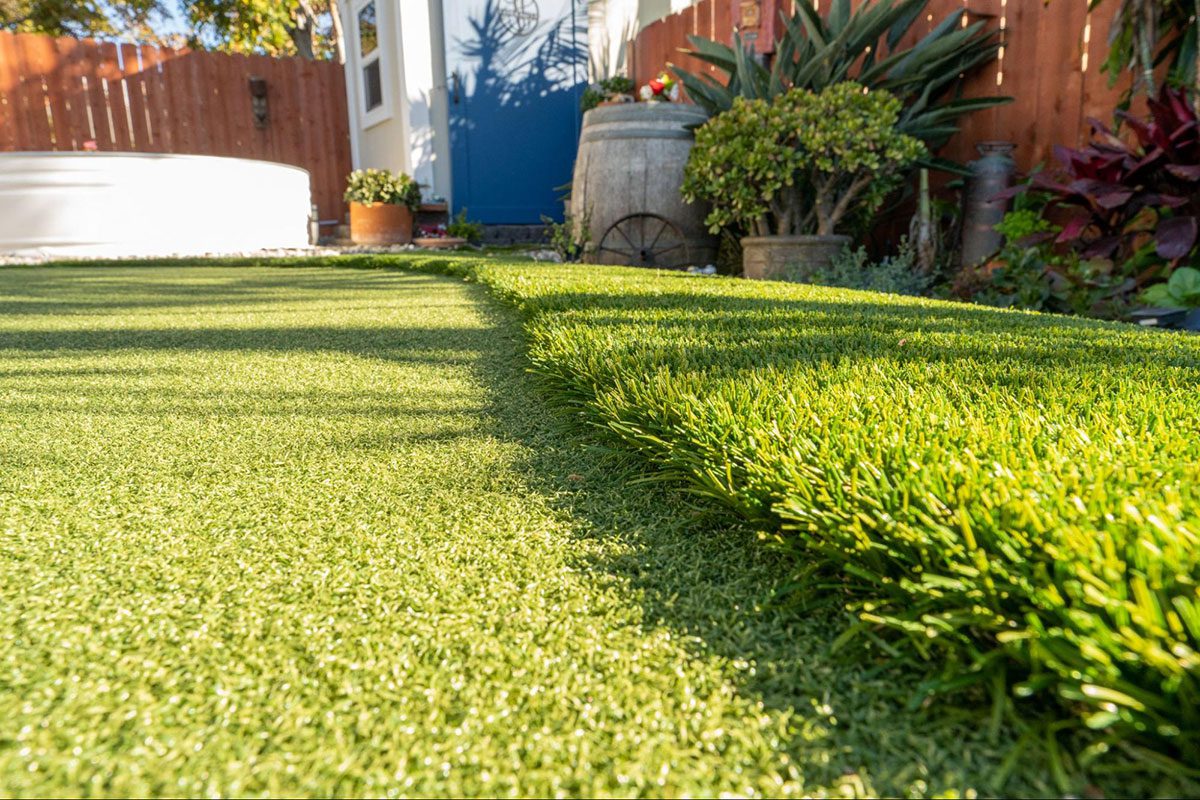
The artificial grass itself is the primary material required for installation. It is important to choose a high-quality product that is designed to withstand the elements and foot traffic.
Bender boards
Bender boards are typically used to create a border around the perimeter of the installation area, and to secure the edges of the artificial grass.
Road base
Road base is a compacted aggregate material that is used as a foundation for the artificial grass. It helps to provide a stable surface and drainage for the grass.
Weed barrier
A weed barrier is a material that is placed underneath the artificial grass to prevent weeds from growing through.
Infill
Infill is a material that is spread over the artificial grass to help keep the blades upright, improve durability, and provide cushioning.
Factors in calculating artificial grass installation cost
When considering the cost of installing artificial grass, there are several important factors to keep in mind. The size and shape of the installation area are significant factors that can impact the overall cost, as unusually shaped areas may require additional cutting and shaping of the artificial grass. Additionally, the brand of artificial turf you choose can have varying quality and pricing levels that affect the overall cost. Debris removal is another factor to consider, as existing grass or debris may need to be removed from the installation area, which can increase the cost. Access to the installation area is also important, as difficult access can add to the overall cost. The type and amount of infill used, existing irrigation that needs to be removed or modified, and the addition of odor reducers can also impact the cost. Finally, if replacing existing grass or turf, the removal process and any necessary modifications to sprinklers should be taken into account to ensure a successful installation.
DIY vs professional installation
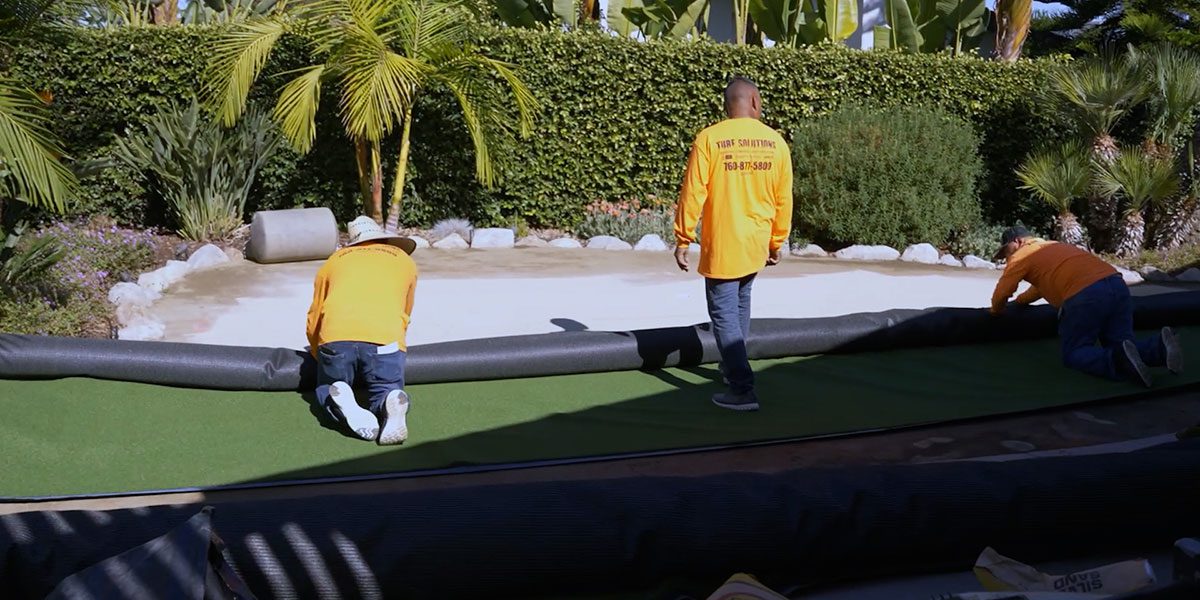
Installing artificial grass can be a DIY project, but it’s not for everyone. Here are some factors to consider when deciding whether to install the artificial grass yourself or hire a professional:
- Skill level: Installing artificial grass requires some basic skills, such as measuring and cutting, as well as some specialized skills, such as creating a proper base and infill. If you don’t have experience with these skills, it may be best to hire a professional.
- Time: Installing artificial grass can be time-consuming, especially if you’re doing it yourself. A professional installation can be done in a fraction of the time it would take a novice to do it.
- Equipment: Installing artificial grass requires some specialized equipment, such as a compacting machine and a power brush. If you don’t have access to this equipment, it may be more cost-effective to hire a professional.
- Warranty: Many artificial grass manufacturers require professional installation in order to maintain the warranty. If you install the grass yourself and something goes wrong, you may be responsible for the cost of repairs or replacement.
Hiring a professional installation company can be more expensive than a DIY installation, but it can also provide peace of mind and ensure that the installation is done correctly.
How to install artificial grass yourself
If you decide to install the artificial grass yourself, here are the basic steps to follow:
- Prepare the area: Remove any existing grass or vegetation, and ensure that the soil is level and compacted.
- Install the base: Lay down a layer of road base and compact it with a plate compactor.
- Add a weed barrier: Lay down a weed barrier over the road base, and secure it in place.
- Lay the artificial grass: Roll out the artificial grass over the weed barrier, and cut it to fit the area.
- Add infill: Spread infill over the artificial grass and use a power brush to work it in.
- Trim the edges: Use a utility knife to trim any excess artificial grass along the edges.
How to find an installer
When considering hiring a professional installer for your artificial grass, it is important to do your due diligence to ensure that you are working with a reputable and reliable company. To find the right installer for your needs, start by researching companies in your area and checking their online reviews and ratings. Getting quotes from at least three different companies can help you compare pricing and services, while asking for references and photos of past installations can give you an idea of their workmanship. Additionally, it is recommended to look for a company that is certified by industry associations, such as the Synthetic Turf Council. Finally, make sure to ask about the warranty on both the installation and the artificial grass itself.
By considering these factors and following these tips, you can ensure a successful and cost-effective artificial grass installation.
Related resources:
-
- Where you can use artificial grass
- Cost of artificial grass
- How to choose the best artificial grass
- How to clean artificial grass
- Water bill savings with artificial grass
- How long does artificial turf last?
- Artificial turf supplies
- Artificial grass vs real grass
- Pros and cons of artificial grass
- Artificial grass installation guide
- Does artificial grass fade?
- Does artificial grass need water?